Black Pepper Walnut Biscotti
My mother's recipe and the best biscotti recipe I've ever tried. The kick of black pepper balanced by the brightness of the orange, balanced by the warmth of the walnuts. Plus the perfect texture. Chef's kiss!
INGREDIENTS
1 ¾ cup flour
½ tsp baking soda
½ tsp baking powder
1/8 tsp salt
1 ½ tsp freshly ground black pepper
½ c butter (room temperature)
1 cup sugar
2 eggs (room temperature)
2 tsp grated orange peel
1 ½ tsp vanilla extract
¼ tsp almond extract
1 ½ cups walnuts, toasted and coarsely chopped
INSTRUCTIONS
Phase 1
- Sift flour, baking soda, baking powder and salt into medium bowl. Mix in pepper.
- In separate mixing bowl, cream butter until light. Add sugar, beat until fluffy.
- Mix in eggs, orange peel, extracts and walnuts. Add dry ingredients and mix just until blended.
- Divide dough into 3 equal pieces. The dough will be sticky, so wax paper helps! The best way to do this is to divide the dough across 3 pieces of wax paper (a scale helps to get them roughly equal). Using the wax paper, fold the paper over the dough and "roll" (aka smush gently) each piece into 1½ inch wide logs. They should be at least 10 inches long. Cover the dough fully with the wax paper (roll them up and fold over the ends) and refrigerate until chilled. (Can do one day ahead.)
Phase 2
- Preheat oven to 350 degrees.
- Cover two baking sheets with parchment paper (or silpat). I recommend "airbake" pans to avoid dark browning.
- Put logs on the sheets diagonally about 5 inches apart. You'll have two logs on one sheet and one log on the other.
- Bake until light brown (about 20 minutes.)
- Move logs to racks and cool about 10 minutes.
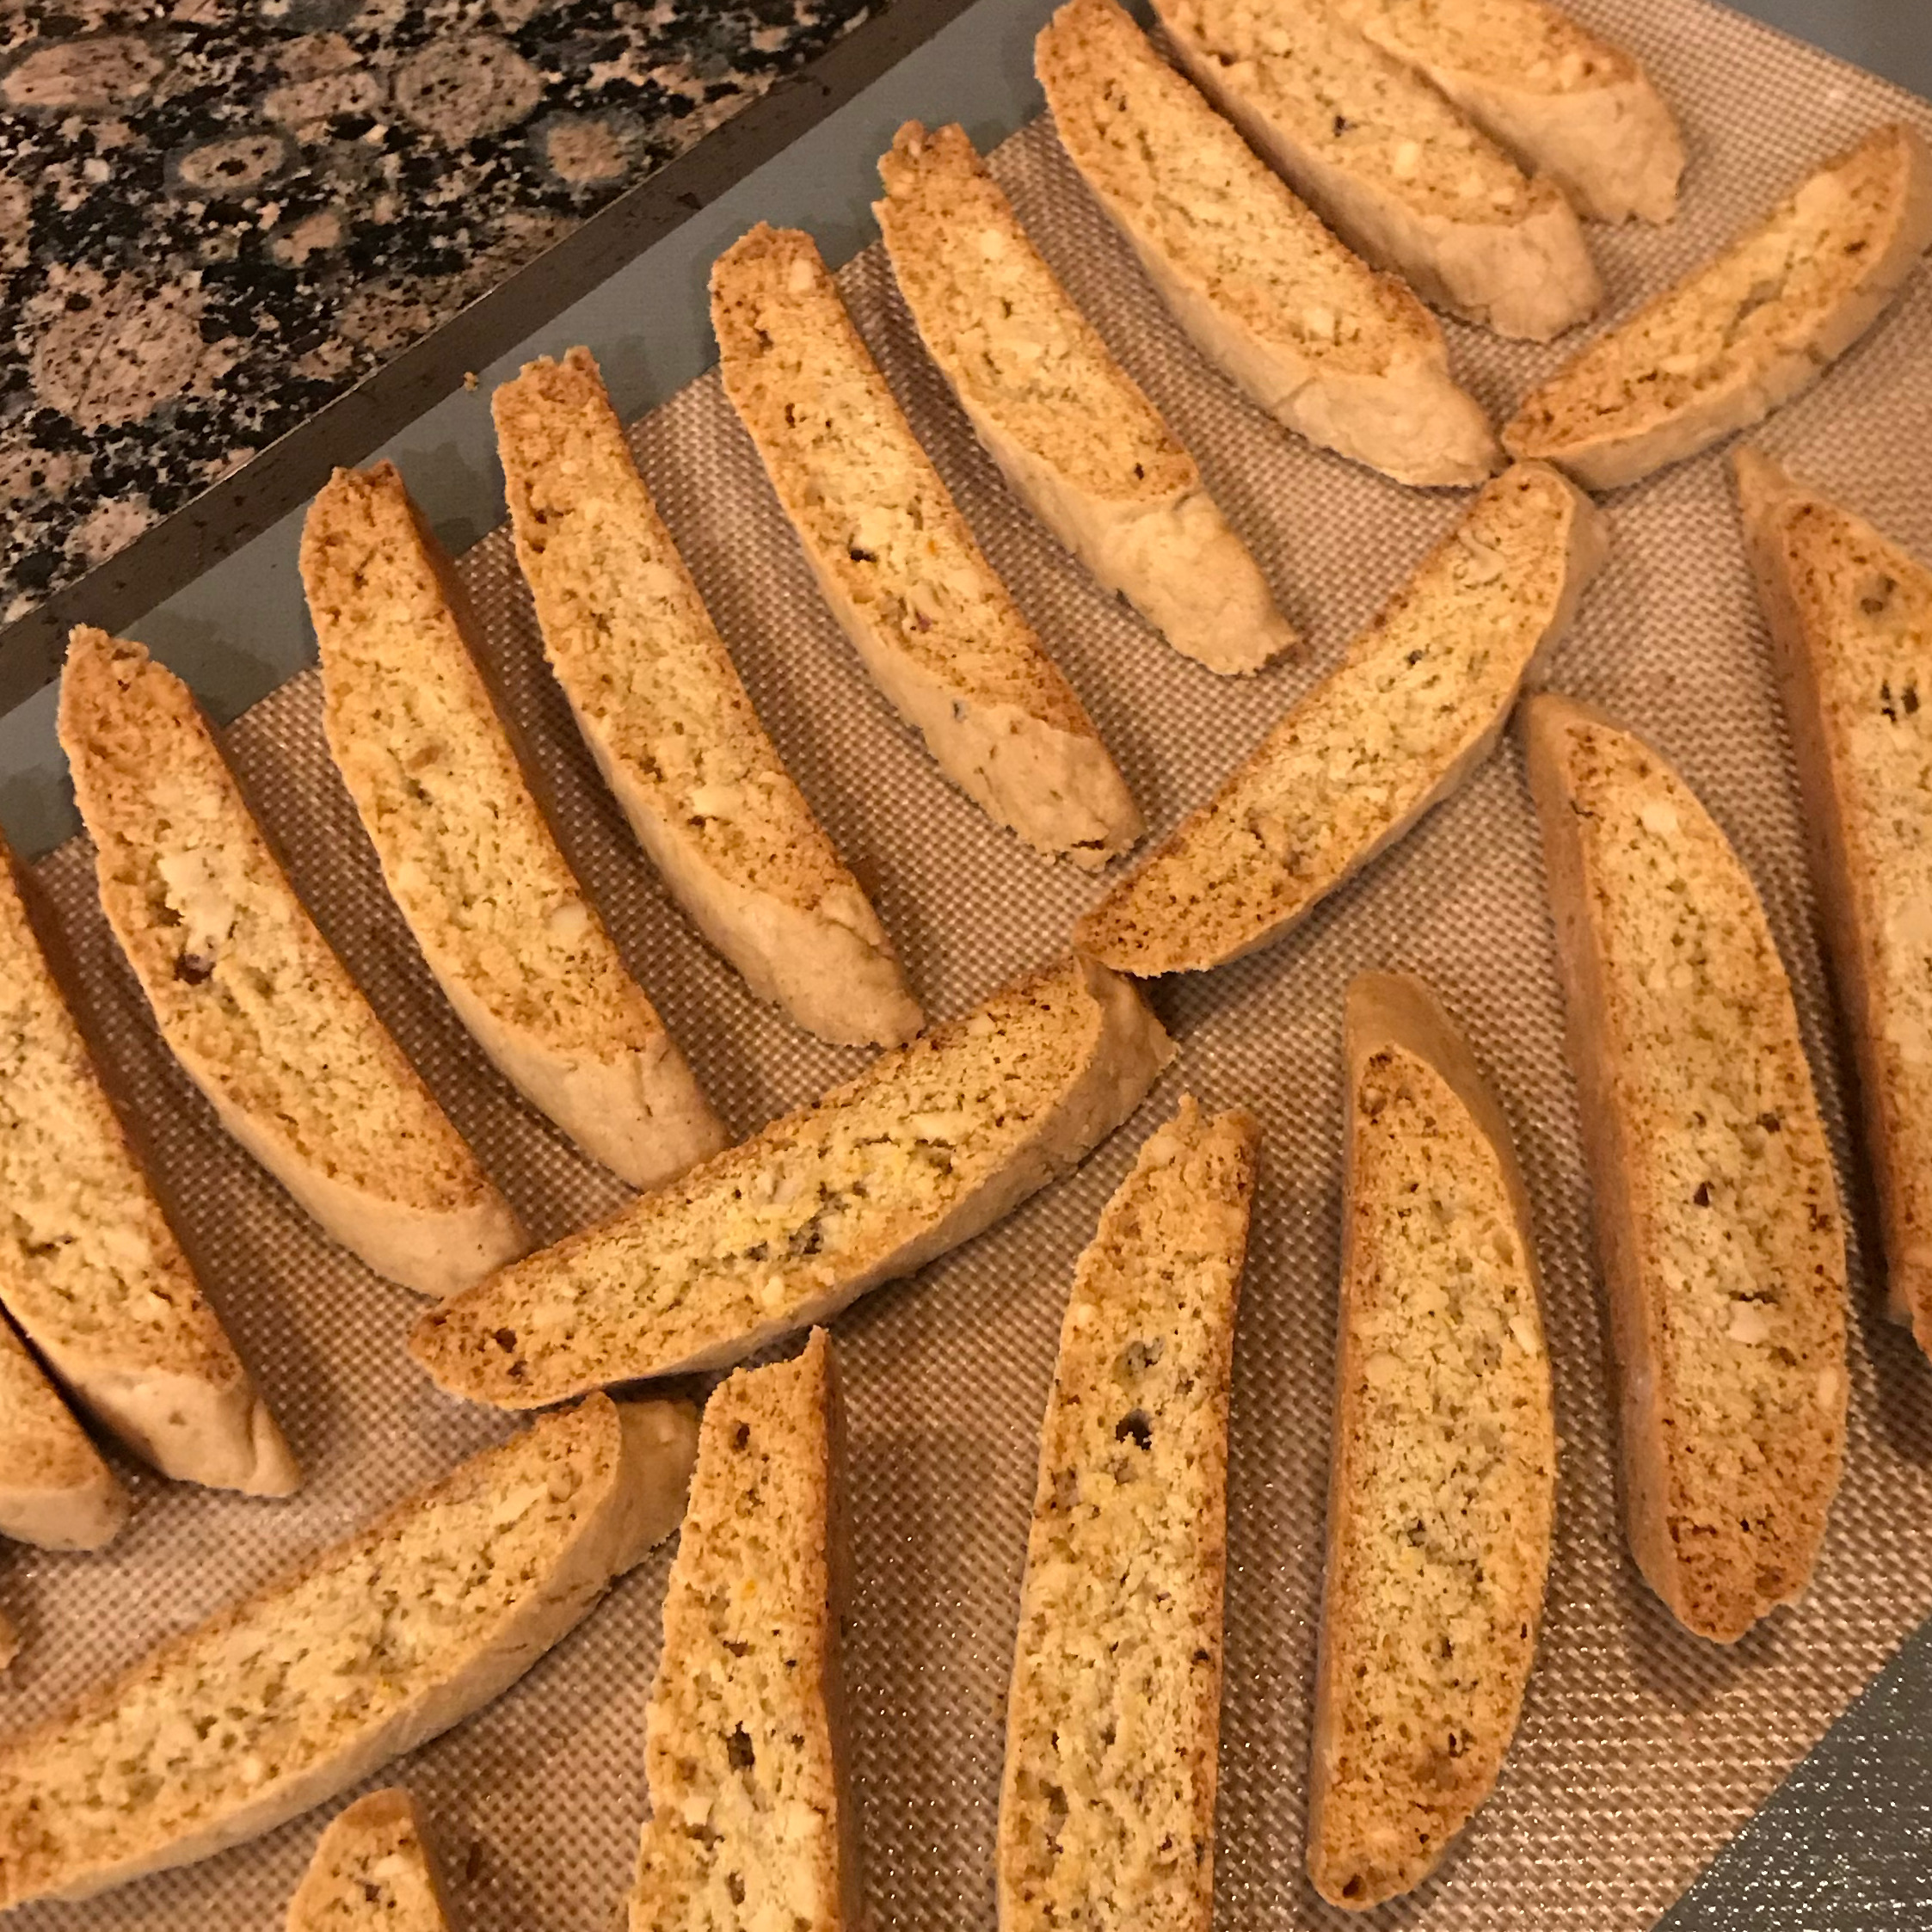
- Cut logs crosswise on diagonal into ¾ wide slices. Use a serrated knife. Choose an angle to cut on based on how long you want your biscotti. Arrange biscotti with the cut side down on warm baking sheets and bake until golden brown on edges, about 15 mins.
- Cool on racks and enjoy!
© MARY CATHERINE PFLUG 2025
Made with Hatton, Stevie Sans, Parkside & Titling Gothic Extended. Design by Alexandra Walker.