Olive Oil Crackers
Way better than you can
buy in the store!
I had the best crackers from Roots & Branches (bought at Fresh Market) which inspired me to start making crackers. I pieced this recipe together from a variety of recipes online and by looking at the ingredients on the cracker box. Then I experimented with different batches. The verdict - don’t use only whole wheat pastry flour; tastes too “whole wheaty” if that makes sense. Doing half whole wheat pastry flour and half semolina flour gets the right taste and texture.
Some notes about making the crackers:
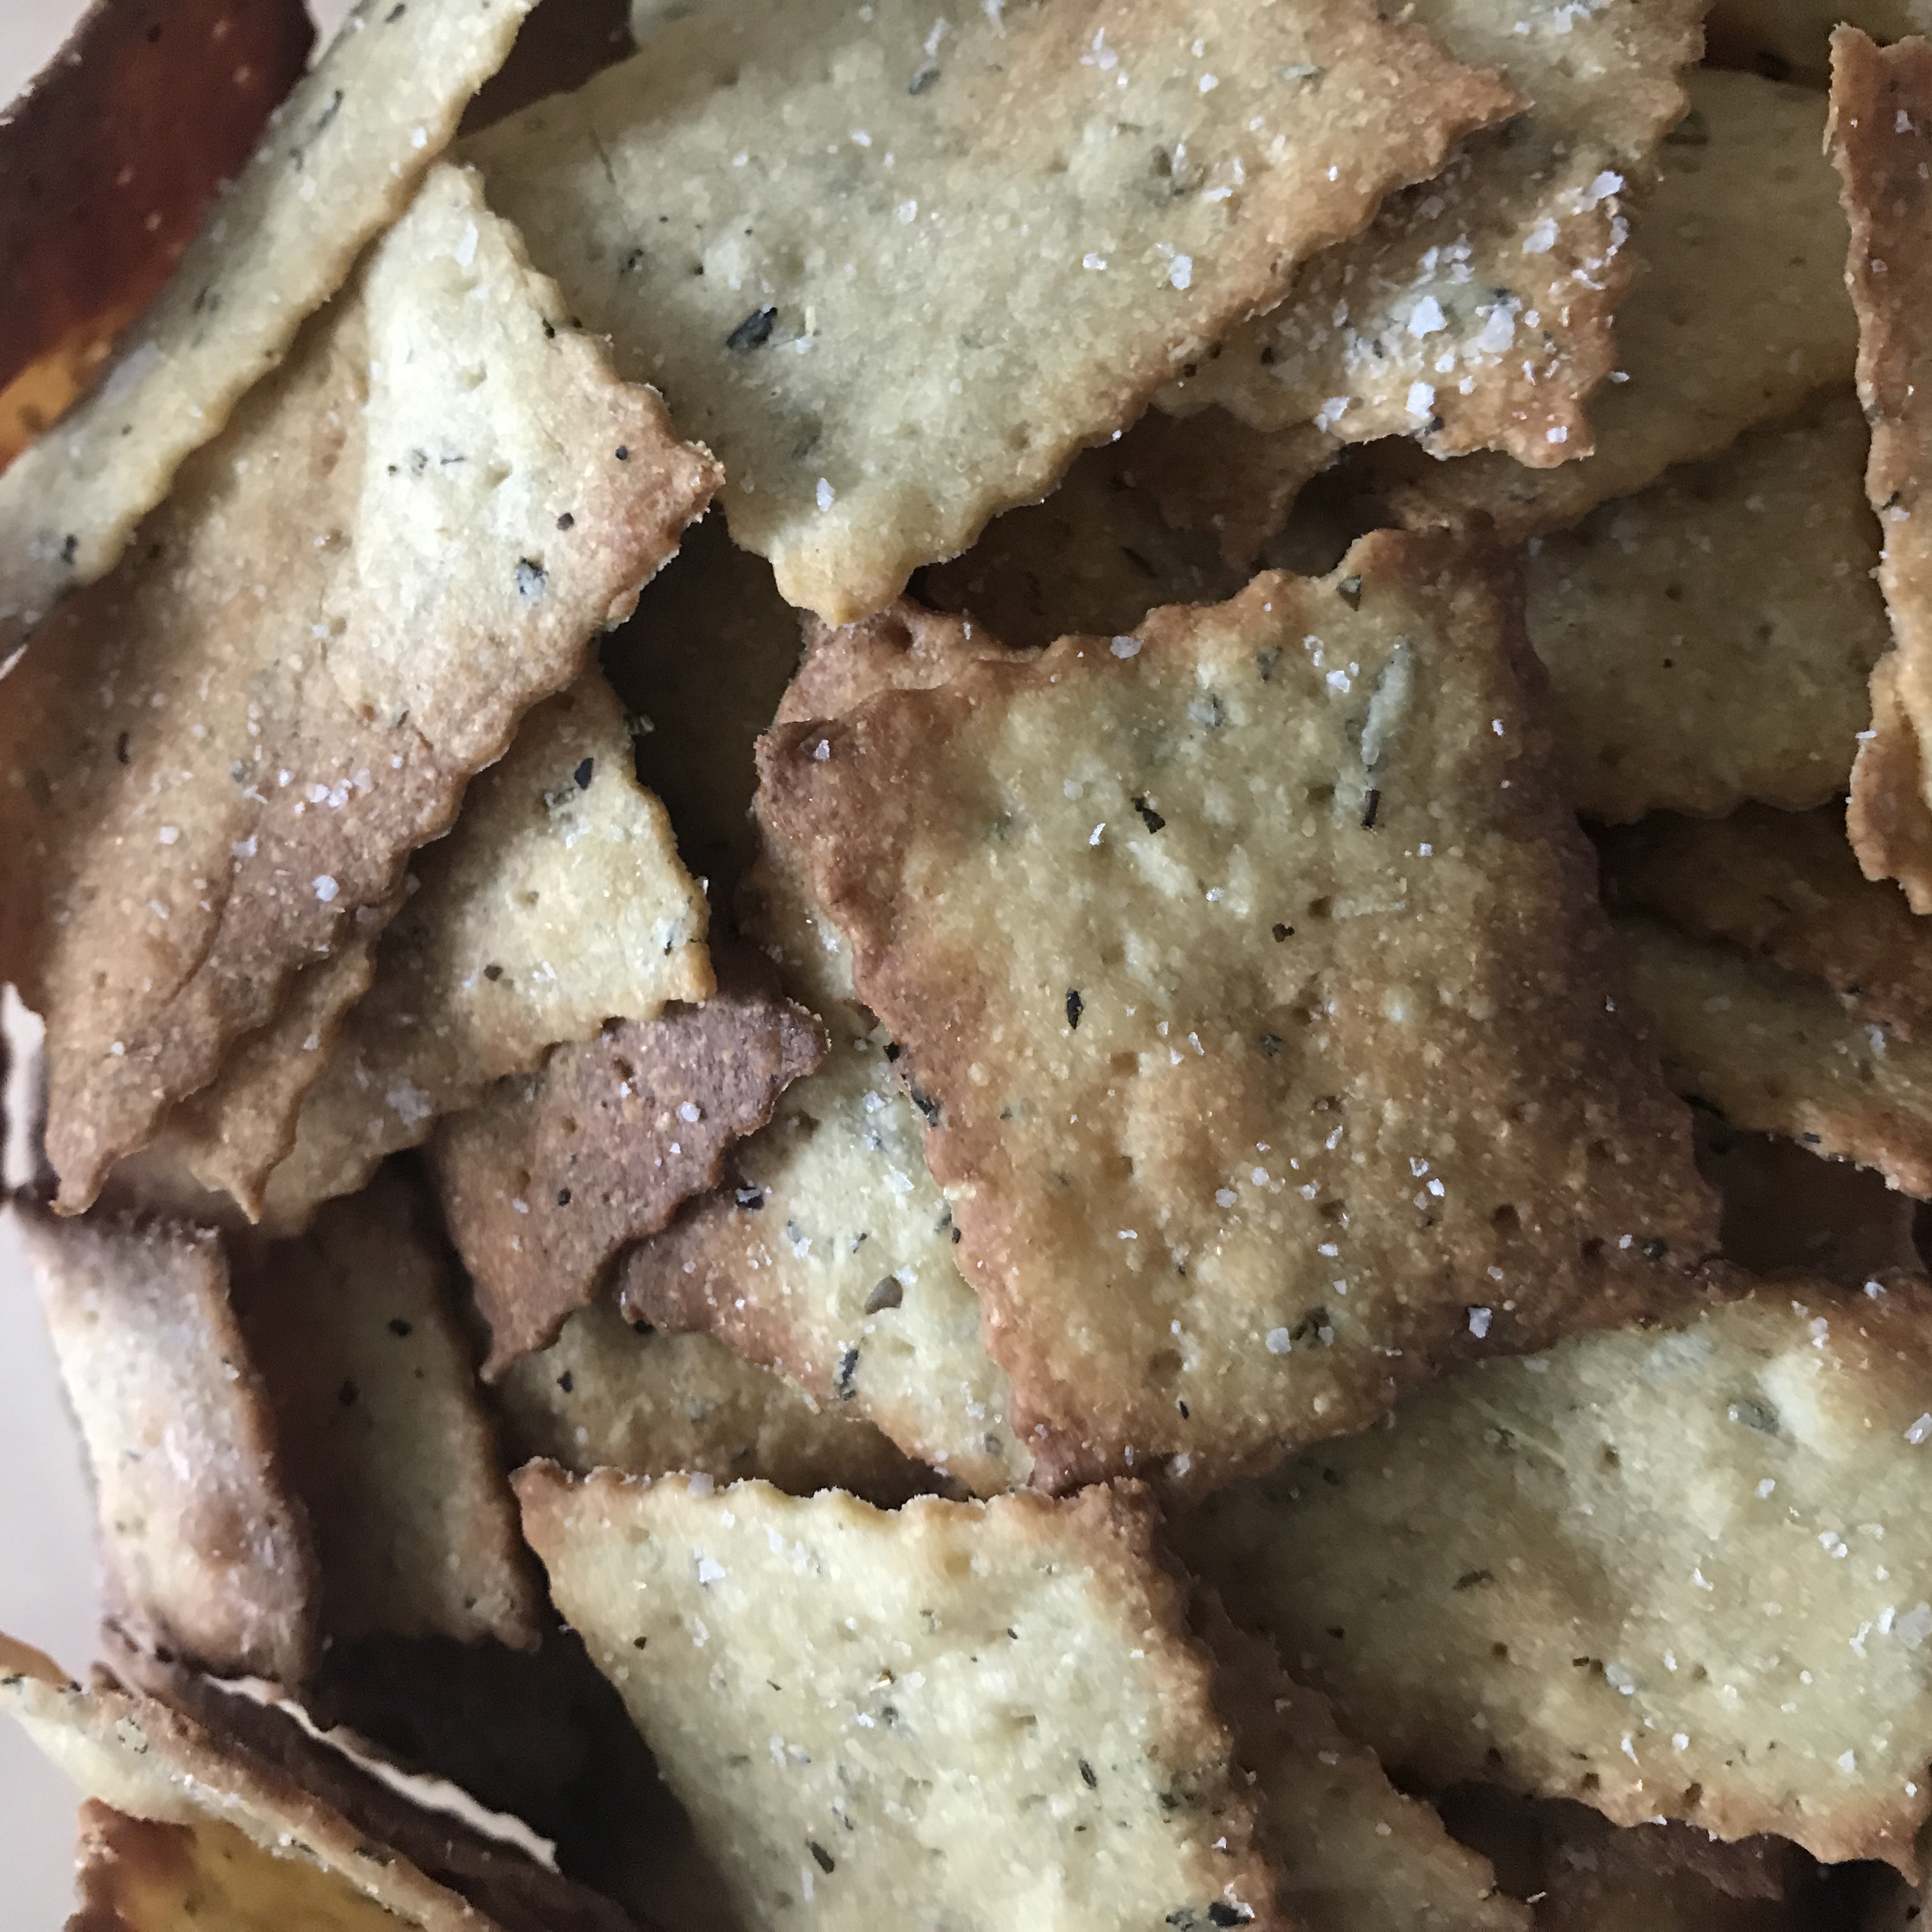
Roll the dough as thin as possible! Thinner the better.
To make cheesy crackers, you’ll get the most flavor by both working cheese into the dough and sprinkling cheese on the top before baking. Working cheese into the dough alone doesn’t achieve a strong enough cheese flavor in my opinion. For cheddar cheezit-style crackers, you’ll need an entirely different recipe.
After transferring the cut out crackers to the baking sheet, grind or sprinkle salt (I recommend a coarse salt, like ground salt, diamond kosher salt, or sea salt) over the top before baking to make sure the salt sticks with each cracker. The salt helps to bring out the flavors, otherwise they can be bland.
Unfortunately, I haven't been able to successfully use a mechanical pasta roller to roll out the dough for these crackers; there is too much oil in the dough for it to work. Instead, you'll have to do it old school and use a rolling pin! It make take a while, so if you don't have a ton of time and don't mind getting fewer crackers, halve the recipe.
INGREDIENTS
- 1 1/2 cups whole wheat pastry flour (not sifted)
- 1 1/2 cups semolina flour (not sifted)
- 2 tsp salt
- 1/3 cup olive oil
- 1 cup warm water
- Any herbs you want to flavor the crackers. I recommend any combination of rosemary, sea salt, pepper, red pepper, basil, other Italian herbs, finely ground white cheese, garlic powder, onion powder, etc. I recommend 5 tsp of herbs total. For example, the batch pictured here was made of 1 tsp each of rosemary, thyme, basil, garlic powder, and onion powder. Just use your best judgement, and combine what you like.
INSTRUCTIONS
- Using your KitchenAid mixer with dough hook attachment, first add flour and salt.
- On the stove, combine herbs and olive oil in a small pot and heat until slightly bubbling. It won't take long - so make sure not to burn it! This will enhance the flavors.
- Turn mixer on low and slowly add in olive oil + seasoning mixture. Return pot to the stove and turn off heat. Then pour 1 cup of water into that pot you used for the oil (stove top off). Swirl it around a bit to get any extra oil or herbs you missed. This will warm up the water and make sure you get all the oil. Then add the water to the mixer. Mix on low until combined. Dough should be soft but not sticky. If the dough is too sticky, add a little bit more flour, one spoonful at a time.
- Once done mixing, give the dough a few kneads to shape dough into a large oval, then cut into 6 pieces using a large knife or dough scraper (also called a pastry cutter or bench scraper).
- Roll these six pieces into balls. The reason you're making six balls is so you can work with them one at a time. Because you're going to be rolling it so thin, one of these six balls will be enough to work with at a time. You need the olive oil so they don't dry out while they sit while you work.
- Add the six balls of dough back to the mixer bowl. Make sure they are lightly covered in oil so they don’t get dried out. Do this by coating your hands with olive oil to shape them and return to the bowl of your electric mixer. Or you can use an olive oil sprayer.
- Cover the bowl with saran wrap and let sit in fridge for 30-45 mins. Preheat oven to 450 F while letting dough sit.
- Once the dough has finished sitting, roll dough out as thin as possible and cut into equal sized rectangles, about 1” x 2”. The thinner the better! I like using a pastry wheel cutter with a wavy edge to cut out the crackers. You can also use a pizza cutter, bench scraper or knife.
- Transfer rectangles to baking sheet covered in parchment paper. Grind or sprinkle salt over them, and use a fork to generously poke holes all over the crackers - 2 or 3 pokes with the fork per cracker. The holes will prevent the crackers from swelling up like balloons in the oven. If you’re doing small square crackers, you can punch 1 hole in the middle of each cracker with a toothpick.
- Bake at 450 F for 5-6 minutes, or until tops of crackers are slightly brown around edges. If you're not great at rolling out dough with a rolling pin like me, you may have crackers that are slightly different thicknesses on the same pan (The edges of the dough rolled out are usually thinner than the middle). So keep this in mind, you may need to pull out some crackers earlier than others. If the crackers do not brown around the edges, they'll be soft and not have that "snap" so you definitely want to make sure they are brown on the edges.
© MARY CATHERINE PFLUG 2025
Made with Hatton, Stevie Sans, Parkside & Titling Gothic Extended. Design by Alexandra Walker.